
You’ve made it through the groundwork—budgeting and loan pre-approval, property research, viewings, comparisons, shortlisting, and negotiation. Over the past nine months, you’ve transformed from a curious buyer into a confident decision-maker. Now, in the final stage, everything becomes real: the money moves, the papers get signed, and the keys change hands.
Months 10 to 12 are all about action, precision, and ownership. The emotional and financial stakes are at their peak. This is the transition from “I’m buying a home” to “I own one.”
In this final stretch, you’ll finalize your financing, complete the legal title transfer, and prepare for the move-in. It’s not just a transaction—it’s the start of a new chapter. We’ll guide you through every crucial step so you can close the deal smoothly and step into your new home with total confidence.
Finalizing Your Home Loan and Financing Requirements
By now, you’ve likely secured loan pre-approval earlier in your journey. In this final stage, it’s time to turn that pre-approval into a fully funded loan. Every peso matters—and so does every step. Here’s what you need to know to confidently finalize your financing in the Philippines.
1. Confirm Full Loan Approval and Release
After your chosen property passes the bank’s appraisal and due diligence, the lender will issue a notice of full loan approval. This includes the loan amount, terms, and conditions. Review it carefully. Make sure all agreed rates and details match your earlier discussions. Once approved, the bank will schedule the release of funds, either directly to the seller or through a third-party escrow account.
Tip: Always double-check the bank’s documentary requirements—some may still ask for updated IDs, employment certificates, or tax documents before release.
2. Pay the Down Payment: Timing, Method, and Paperwork
You’ll need to settle the down payment (DP)—usually 10% to 20% of the purchase price—before the loan is released. This is often paid directly to the seller after the signing of a Contract to Sell or Deed of Absolute Sale, depending on your arrangement.
Don’t skip this:
- Ask for an acknowledgment receipt from the seller
- Keep a copy of your proof of fund transfer or check issuance
- Align the DP timeline with your loan release schedule to avoid delays
3. Secure the Letter of Guarantee (LOG) from the Bank
For loan-financed deals in the Philippines, your lender may issue a Letter of Guarantee (LOG)to the seller. This document confirms that the bank will pay the remaining balance once legal conditions are fulfilled (e.g., title transfer, signed documents). This gives the seller peace of mind and often unlocks the next steps of the transaction.
Pro Tip: Make sure the LOG is forwarded promptly to your seller’s side—especially if you’re dealing with a developer or real estate agent who needs it to proceed with title transfer.
4. Coordinate with Your Lender, Broker, and Seller’s Team
This is where things can get tangled—unless you communicate clearly. Your real estate broker, bank loan officer, and the seller or developer must stay in sync.
Align on the following:
- Schedule of signing the Deed of Sale
- Mode of fund transfer (bank-to-bank, escrow, or manager’s check)
- Title transfer and tax payment responsibilities
- Any document courier or notarization logistics
Quick Recap:
Before moving forward to contract signing, ensure you’ve:
✅ Received full bank approval
✅ Paid the down payment with receipts
✅ Secured the bank’s Letter of Guarantee
✅ Aligned all parties on timelines and document flow
Smooth financing = a smooth handover. Don’t rush this step—it’s the financial foundation of your future home.
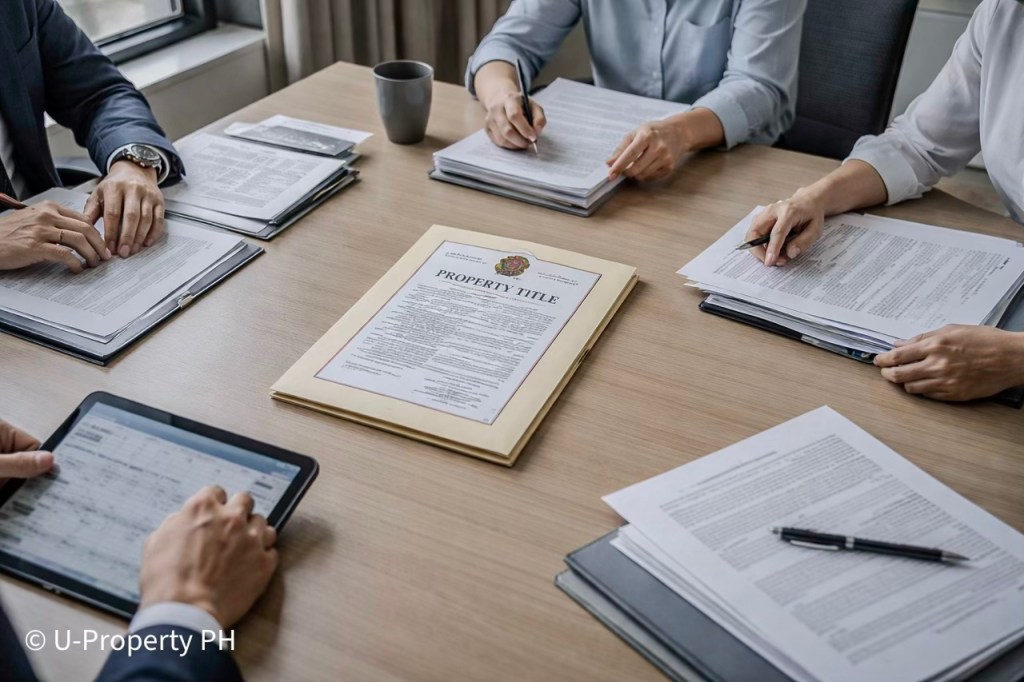
Signing the Deed of Absolute Sale (DOAS): What Every Buyer Must Know
The Deed of Absolute Sale (DOAS) is the official document that legally transfers ownership of the property from the seller to you, the buyer. It’s the heart of the closing process—and one wrong detail can delay your move or worse, complicate your title.
Let’s break it down so you can sign with total clarity.
What Is the DOAS?
The Deed of Absolute Sale is a legally binding contract that:
- Confirms the full payment or financing arrangement
- States that the seller is transferring full ownership rights to you
- Serves as the basis for title transfer at the Registry of Deeds
Once signed and notarized, this document becomes your strongest proof of ownership before the title is updated in your name.
Documents Required for Signing
From the Buyer:
- 2 valid government-issued IDs (with signature)
- Tax Identification Number (TIN)
- Loan guarantee letter (if applicable)
- Proof of down payment
From the Seller:
- Original Transfer Certificate of Title (TCT) or Condominium Certificate of Title (CCT)
- Valid IDs
- Updated real property tax clearance
- BIR Certificate Authorizing Registration (CAR), if already available
- If a developer: CTS (Contract to Sell), reservation agreement, and official receipts
Where and How It’s Signed
The DOAS must be notarized to make it legally valid.
Who notarizes it?
A licensed notary public in the Philippines, ideally near the Registry of Deeds where the property is located
Where?
It can be done at the notary’s office, bank, developer’s office, or your broker’s office—depending on the arrangement
What to Double-Check Before Signing
Before you put pen to paper, carefully review the document for:
- Complete legal names of both buyer and seller (must match government IDs exactly)
- Correct property description — lot/unit number, floor area, condo or subdivision name
- Clean title reference — correct Transfer Certificate of Title or Condominium Certificate of Title number
- Accurate payment terms — total amount paid, balance (if any), and payment method
- Notarial details — correct date, signature pages, ID details, and seals
Pro Tip: Bring a trusted broker or real estate attorney to the signing
They can catch overlooked errors or inconsistencies and ensure the process follows legal standards. Never rush this step—a notarized DOAS with mistakes can derail your title transfer.
Transferring Legal Ownership in the Philippines: A Step-by-Step Guide
Once the Deed of Absolute Sale (DOAS) is signed and notarized, you’re not done yet—the property still needs to be legally transferred to your name. This process involves several government agencies, tax clearances, and documents. It may sound complex, but with the right checklist, it becomes completely manageable.
Here’s how to legally transfer property ownership in the Philippines:
1. Submit the Deed of Sale to the Bureau of Internal Revenue (BIR)
The signed and notarized DOAS must be submitted to the BIR RDO (Revenue District Office) where the property is located. This kicks off the computation and collection of taxes due for the transfer.
2. Pay Required Taxes
You (or the seller, depending on your agreement) will need to pay:
- You (or the seller, depending on your agreement) will need to pay:
- Documentary Stamp Tax (DST) – 1.5% of the selling price, zonal value, or fair market value—whichever is higher
- Capital Gains Tax (CGT) – 6% of the same base, typically paid by the seller unless agreed otherwise
- Withholding Tax – Applicable in some cases for corporate sellers
Keep all receipts and file copies.
3. Secure the eCAR (Electronic Certificate Authorizing Registration)
Once taxes are paid and documents are validated, the BIR will issue the eCAR—a mandatory clearance that allows you to register the title under your name. This can take 1 to 3 weeks, depending on completeness of documents and BIR processing time.
4. Pay Transfer Tax at the LGU Treasurer’s Office
Go to the local city or municipal Treasurer’s Office where the property is located to pay the Transfer Tax. This is typically 0.5% to 0.75% of the property value, depending on your LGU.
Bring:
- eCAR
- DOAS
- Tax payment receipts
- Valid IDs
5. Transfer Title at the Registry of Deeds
Now head to the Registry of Deeds (RD) to file the transfer of the title. You’ll need:
- Original and photocopies of the DOAS
- Owner’s duplicate copy of the title
- eCAR and tax receipts
- Transfer tax receipt
- Notarized IDs
A new TCT (Transfer Certificate of Title) or CCT (Condominium Certificate of Title) will be issued under your name. This can take a few days to a few weeks, depending on the RD’s schedule.
6. Update Tax Declaration at the Assessor’s Office
Last step: update the Tax Declaration under your name at the City or Municipal Assessor’s Office. Bring your new title and previous tax declarations. This ensures you’re now listed as the legal property owner for real property tax (RPT) billing and assessments.
Post-Sale Admin: Final Checks and Utility Transfers in the Philippines
You’ve signed, paid, and received your title—congratulations! But before you settle in, don’t overlook these essential post-sale administrative tasks. These steps ensure your ownership is fully recognized across all systems and services.
1. Request a Certified True Copy of the Title
After the Registry of Deeds issues the Transfer Certificate of Title (TCT) or Condominium Certificate of Title (CCT) under your name, request a certified true copy. This official copy serves as proof of ownership for future transactions, loans, or legal verifications.
Where to request: Registry of Deeds (same branch that processed your transfer)
2. Confirm Real Property Tax (RPT) Responsibilities
Head to the City or Municipal Treasurer’s Office to:
- Verify the updated Tax Declaration
- Ensure your name is now listed as the official taxpayer
- Request the latest RPT bill and note the payment schedule (typically quarterly or annually)
Failing to do this could result in delays, penalties, or incorrect billing, especially if the seller is still listed.
3. Transfer Utility Services to Your Name
Ensure you take over all utility accounts associated with the property to avoid service disruptions or confusion.
Utilities to update:
- Meralco (electricity)
- Water provider (Maynilad, Manila Water, or local water district)
- Internet & cable (PLDT, Globe, Converge, etc.)
- Garbage fees or LGU services (if applicable)
Each provider may require your new title, valid IDs, and proof of residence to update their records.
4. Update Your Mailing Address Everywhere
Once you move in, update your mailing address with:
- Your bank and credit card providers
- Government agencies (BIR, PhilHealth, SSS, Pag-IBIG, LTO, COMELEC)
- Workplace HR and billing partners
This ensures you don’t miss critical bills, tax notices, or identity-related documents.
Pro Tip: Keep a “New Owner Packet”
Organize all your updated documents—title copy, utility confirmations, RPT receipts, and service accounts—in one physical or digital folder. It’s your go-to reference for any future claims, disputes, or resale prep.
This admin work may not be glamorous—but it’s what separates smart, prepared homeowners from overwhelmed ones. Lock it in now and enjoy your new home with peace of mind.
Preparing for Move-In: Your Smooth Transition Checklist
You’ve secured the title and cleared all admin tasks—now comes the exciting part: moving into your new home. But without a solid plan, move-in day can quickly spiral into stress. Here’s how to prepare for a hassle-free, organized move-in in the Philippines:
1. Book a Trusted Moving Company Early
Don’t wait until the last minute. Reliable movers get booked fast—especially during weekends and month-end. Look for movers with:
- Good reviews and verified business permits
- Insurance for damaged or lost items
- Clear pricing and written quotations
Bonus tip: Ask if they provide boxes, bubble wrap, or furniture assembly.
2. Secure Move-In Permits and Gate Passes
For condos or gated subdivisions, most require advance notice and paperwork:
- Condominiums: Secure a move-in permit and schedule your move with the admin (often includes elevator reservation and bond).
- Subdivisions: Request a gate pass for your moving truck and helpers.
Prepare copies of your new title, valid IDs, and authorization forms (if movers are third-party).
3. Pack Smart with a System
A chaotic move starts with disorganized packing. Avoid that. Use this method:
- Label boxes by room and priority (“Fragile,” “Open First,” “Kitchen,” etc.)
- Pack a Day 1 Essentials Box (toiletries, chargers, change of clothes, basic kitchenware)
- Group fragile items separately and cushion them well
This minimizes confusion and speeds up unpacking.
4. Clean and Repair Before the Move
An empty house is easier to deep clean. Schedule a full cleaning service before your move-in date—especially if the property was pre-owned.
Inspect for:
- Leaky faucets
- Broken lights
- Chipped paint
- Loose hinges or handles
Fixing these before your belongings arrive saves time and stress.
5. Notify the Admin and Neighbors
Moving day is noisy. Keep the peace by:
- Notifying building or subdivision security at least 3–5 days in advance
- Informing nearby neighbors of your move-in time
- Following condo rules (e.g., no moving on Sundays or after 5 PM)
This courtesy goes a long way in building good community relations.
Pro Tip: Create a printable move-in schedule and packing checklist. Want one? We can send you a free copy—just drop your email below. 📨
Home Maintenance Essentials for New Homeowners in the Philippines
Owning a home isn’t just about decorating—it’s about maintaining its value and livability. As a first-time homeowner, starting strong with basic home maintenance will prevent costly repairs down the road and help you protect your investment.
1. Schedule Preventive Servicing (Aircon, Plumbing, Electrical)
Book professional servicing within your first month:
- Air Conditioners: Clean filters and check for mold or leaks—especially after a long vacancy or previous use.
- Plumbing: Inspect pipes for leaks, low pressure, or rust—common in older homes.
- Electrical: Check if the main breaker, outlets, and switches are functioning properly.
Pro Tip: Build relationships with trusted local contractors early. They’ll save you time (and stress) later.
2. Change All Exterior Locks and Upgrade Security Systems
For peace of mind:
- Replace front and back door locks—you never know how many duplicate keys are floating around.
- Update or install digital door locks, CCTVs, or smart alarms—especially if you’re in a Metro Manila condo or house with street exposure.
- Reprogram intercom systems or garage remotes, if applicable.
3. Identify and Repair Minor Issues Before They Escalate
Within the first few weeks, take a full walkthrough and list small problems:
- Hairline wall cracks? Check for settling issues.
- Squeaky doors? Add lubricant.
- Leaky faucet? Fix it now before water damage sets in.
Create a simple punch list of “To Fix Soon” vs. “To Monitor.”
4. Create a Basic Home Maintenance Calendar
Use a simple monthly or quarterly system to stay on top of tasks:
Monthly
☑️ Clean air filters
☑️ Inspect drains and sinks
☑️ Test smoke alarms (if installed)
Quarterly
☑️ Service aircon
☑️ Flush out water heater (if applicable)
☑️ Inspect roof and gutters (especially before rainy season)
Bonus: Add reminders to your Google Calendar or phone.
A well-maintained home isn’t just more comfortable—it holds its value and prevents budget-draining surprises. Treat maintenance as part of your monthly financial planning, just like utilities or groceries.
Mini Milestone Checklist (Months 10–12)
This is the home stretch—the final three months of your 12-month home buying journey. By now, you should be confidently transitioning from buyer to homeowner. Use this checklist to confirm you’re ticking off the most critical tasks for closing the deal and settling in smoothly:
✅ Home Loan Fully Approved & Letter of Guarantee Issued
Your financing is now official. The Letter of Guarantee (LOG) from your bank confirms they’re releasing funds upon title transfer—secure this before signing anything.
✅ Down Payment Settled & Deed of Absolute Sale Signed
You’ve paid your down payment, and both parties have signed the Deed of Absolute Sale (DOAS)—the legal document that cements your purchase. Ensure it’s notarized and contains accurate buyer-seller details.
✅ Title Transferred Under Your Name
With the DOAS in hand, the title transfer process begins at the Registry of Deeds. Expect to submit:
- A certified true copy of the original title
- Tax documents (CAR/eCAR from BIR)
- Transfer and registration fee receipts
Once completed, you’ll receive a new Transfer Certificate of Title (TCT) or Condominium Certificate of Title (CCT) under your name.
✅ Utilities and Move-In Schedule Finalized
Coordinate with utility providers for:
- Electricity reconnection (Meralco)
- Water (Maynilad or Manila Water)
- Internet installation
Also, confirm your move-in date with your building admin or homeowners’ association. Don’t forget permits or elevator reservations for condos.
✅ First-Week Essentials Checklist Prepared
Have the basics ready for your first week:
- Water, electricity, Wi-Fi active
- Mattress, cookware, and daily toiletries
- Emergency contacts (plumber, electrician, property manager)
- Copies of your title and contracts stored safely
Pro Tip: Print this checklist or save it in your phone. Every box you tick brings you closer to a worry-free move—and the keys to your future home. Want a free printable PDF version? Drop your email below to get it. 📨
Call to Action: Celebrate Your New Home—and Stay Ahead
You’ve made it. From building your budget to getting the keys, you’ve navigated the entire 12-month home buying journey with clarity and confidence.
To help you transition smoothly into homeownership, we’re offering a FREE downloadable Move-In Essentials Checklist—designed specifically for first-time buyers in the Philippines. It includes everything you need for Week 1 comfort, utility setup, and emergency prep.
📥 Get Your Free Move-In Checklist Now
Submit your name and email below to download the checklist and receive:
✅ Exclusive post-purchase tips
✅ Seasonal home maintenance reminders
✅ Real estate updates tailored for Filipino homeowners
Your new chapter starts here—with preparation, peace of mind, and zero regrets.


Leave a comment